Interscale Content Hub – If you work in BIM, you’ve got to know how changing sheets in Revit BIM 360 cloud project.
This switching capability is needed because efficient sheet management in Revit BIM 360 improves accuracy and enhances communication among team members.
That’s why we’re gonna discuss more details here. So, it’s time to buckle up.
What are Sheets in Revit?
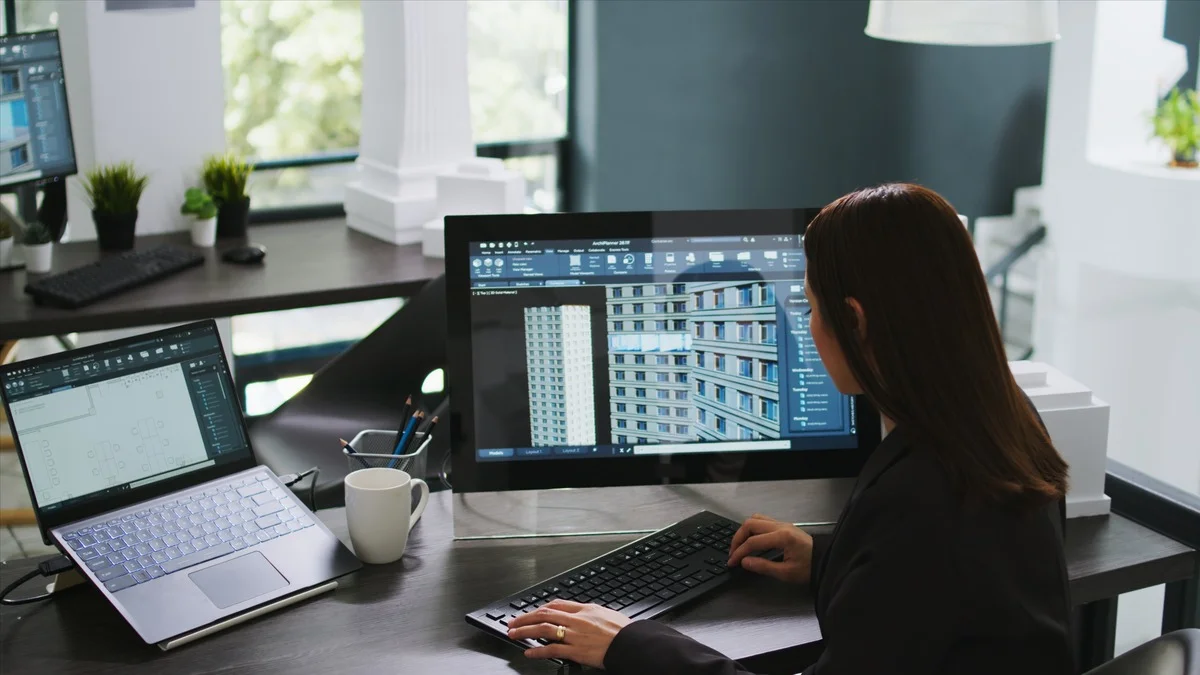
In Revit, sheets are the digital versions of traditional drawing sheets used in architectural, engineering, and construction projects.
Yup, sheets act as a kind of digital paper, letting you organize and arrange views, schedules, legends, and other elements in a structured format.
These sheets are key for putting together and showing off model views, like floor plans, elevations, sections, and details. They’re a great way to share with clients, contractors, and other stakeholders.
You can customize Revit sheets with elements such as title blocks, annotations, dimensions, and others to convey detailed project information.
Good sheet management is key to keeping project documentation in good shape and easy to understand.
In a BIM 360 cloud project, sheets become collaborative documents, so multiple users can access and modify them at the same time.
Cloud worksharing makes it easy for team members to work on the same model at the same time and keep their changes in sync, so everyone has a unified view of the project.
You can also find out more “BIM 360 Model Not Showing Up in Revit: A Newbie Hint to Revit Oblivion,” for more tips on using BIM 360
Setting Up Your BIM 360 Cloud Project
The BIM 360 account administrator starts by creating a new project and activating the necessary services, such as BIM 360 Docs and Design Collaboration.
This is all done through the BIM 360 Account Administration portal, which organizes and manages the project.
Once the project is up and running, the project managers get to work organizing the project folders and inviting team members to join the project.
This helps keep things organized and ensures that everyone has the right access and permissions.
Once the invitations are sent out, team members can just accept them to get access to the project.
Next, you’ll want to upload the Revit model to BIM 360 Docs. This process lets team members work on the model at the same time, so they can make changes and updates in real time.
You can upload the Revit model via the “Collaborate” tab in Revit. This lets you link your project to the corresponding BIM 360 project. This connection will help you make the most of the cloud-based collaboration features of BIM 360.
Before you can start making changes to the sheets, you need to make sure that your Revit project is properly linked to your BIM 360 cloud project.
If there isn’t already a BIM 360 project, you’ll need to create one. Once you’ve got your project set up, you just link Revit to BIM 360 through the “Collaborate” tab. This connection makes it easy to integrate and sync up Revit and BIM 360.
Once you’ve done all that, you can publish the sheets you want to share with your team. To do this, just select the sheets you want to share in Revit and publish them to BIM 360 Docs.
This process makes sure that everyone on the team has access to the latest project documentation, and it helps keep everything consistent across the project.
For more information on sharing Revit models in BIM 360, kindly read “How to Share Revit Model in BIM 360: Your Sharing Questions, Answered.“
Changing Sheets in Revit BIM 360
First, open the Revit model. Just make sure it’s a cloud workshared model. Just find the sheet you want in the Project Browser.
You can make any changes you need to the sheet by adjusting views, annotations, or the layout. Once you’ve made your changes, just sync with Central to save them to the cloud model.
This step makes sure that all the changes you make are reflected in the BIM 360 model.
If you want to make more changes to sheets in a BIM 360 project, just access the “Plans” folder in the BIM 360 Docs module.
Just select the sheet you want to edit. You can make changes directly in Revit, just like you would on a local project.
Once you’ve made all the changes, just save them and Revit will automatically sync them with BIM 360.
This process makes sure that everyone on the team has access to the most up-to-date version of the sheet, so that everything stays consistent throughout the project.
If you want to know more about this process, kindly refer to Autodesk’s official documentation on publishing cloud models and the best practices for Revit cloud worksharing.
These resources offer in-depth advice on managing cloud models and synchronizing changes effectively within BIM 360.
Synchronizing Changes with BIM 360
To get your changes in sync, you’ll want to use the Synchronize with Central tool in Revit.
This tool saves changes from your local model to the central model stored in the cloud, so that everyone on the team can see the updates.
This is the step for keeping your project model consistent and up to date.
Once you’ve synced with the central model, you just need to publish the updated model or selected views and sheets to BIM 360 Docs.
This makes the changes available to anyone outside the Revit team.
When you’re ready to share, just select the sheets or views you want to publish and confirm the action in BIM 360 Docs.
Once you’ve published, it’s important to make sure the changes are reflected in BIM 360 Docs and accessible to all team members.
This step is there to make sure that everyone is working with the most up-to-date version of the project documentation.
Syncing and publishing regularly helps keep the project data in order, makes it easier for everyone to work together, and makes sure that the project documentation is up to date and accurate.
A Quick Way to Get Back to What Matters Most
As you can see, the process above requires precise steps and consistent updates to ensure the whole team has access to the latest info.
Sometimes, managing these changes can cause problems like miscommunication, outdated documents, and inefficient workflows, which can slow down the project.
That’s why we at Interscale offer special BIM services to help out.
We know every project is different, and Interscale offers custom BIM solutions to fit your needs.
Our solutions are designed to fit the client’s specific needs. So, we will be your supporting system to work more productively and get better results.
For instance, Interscale provided K2LD Architects with comprehensive CAD and BIM management services.
Thanks to this support, K2LD was able to handle complex architectural projects with precision, which showed off Interscale’s ability to manage intricate project requirements effectively.
For further information on how we can assist with your BIM requirements, please refer to our Interscale BIM Management page.
Conclusion
Keeping sheets organized in Revit BIM 360 cloud projects is key for smooth collaboration and accurate documentation.
Knowing how to set up, manage, and sync these sheets can really help you work more efficiently on your project.
Also, consider teaming up with Interscale to make your project run more smoothly and reach your goals when it comes to changing sheets in Revit BIM 360 cloud projects.